Move and Rotate Parts
Move Parts
A part can be moved by dragging, no matter which tool you are using. When using the Select Tool, you can move all selected parts together. Hold down the shift key while dragging to constrain the movement to the horizontal or vertical axis.
To move the parts to the same position on another page, hold down the option key while dragging, or hold down the option key and press the arrow keys.
To arrange the selected parts, click the align buttons (


 ) or distribute buttons (
 ) in the Selection section of the inspector, or choose the menu items in Edit ▸ Align or Edit ▸ Distribute.
Rotate Parts
To rotate the parts, select them and drag the yellow rotate handle on the top. Hold down the shift key while dragging to constrain the rotation to 15° increments.
To rotate the selcted parts by 90°, click the  or
or  button in the Selection section of the inspector, or choose Edit ▸ Rotate 90° CCW (Q) or Edit ▸ Rotate 90° CW (W).
In many cases, you may want to rotate a part to make a line horizontal or vertical. It can be achieved in the following steps:
- Drag the rotate center to a vertex.
- Move the cursor to another vertex.
- Drag the rotate handle to rotate the part. The line between these two vertices will snap to the axis automatically.
Lay out Parts
Creating a paper-saving layout by hand is time-wasting. Unfolder provides you with a feature to lay out parts automatically:
- Select the parts you want to lay out, or select nothing if you want to lay out all the parts.
- Click the
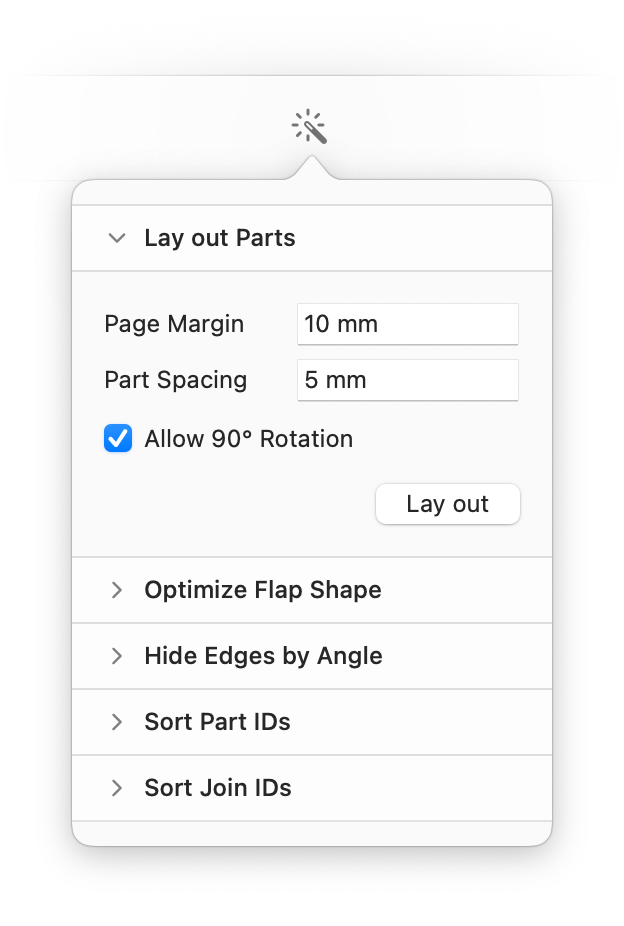
 button on the toolbar and open the Lay out Parts panel.
 - Adjust the settings:
- Page Margin: the minimum distance between a part and the edges of the page.
- Part Spacing: the minimum distance between each part.
- Click the Lay out button.
 Select Parts and Elements Join and Split Parts